Brief History Of Java
Java is a class-based, Object Oriented Programming Language. It is used to develop desktop and mobile applications.
Initially Java was developed by James Gosling (Also known as father of JAVA) at Sun Microsystems and released in 1995. Later Oracle company acquired Sun Microsystems on January 27, 2010.
Installation Process of Java.
Now lets see the installation setup of Java Programming in our machine...
Step-1: Download and install JDK.
JDK Stands for Java Development Kit. It include Java Compiler which is used for conversion of our High-Level Java code into byte code (machine readable code). JDK also includes JRE (Java Runtime Environment) which is used to execute the byte code created by Java Compiler.
Link : Download JDK
Create an account in Oracle if it's needed. After downloading JDK install it without changing any
default options.
1 ) Click on Next.


3) It will take few seconds to install.

4) Now click on Close.

Step-2: Download and install Visual Studio Code.
Let's code java in Visual Studio Code... Visual Studio Code is a light weight code editing software developed and owned by Microsoft.
Link : Download Visual Studio
Code
Download Visual Studio Code from the above link depending on your Operating System.
Now lets see the installation process of Visual Studio Code.
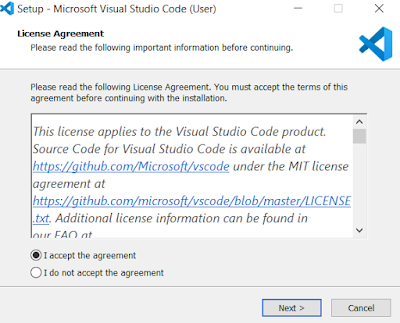
1) Accept the agreement and click on Next.

3) Now click on Install.
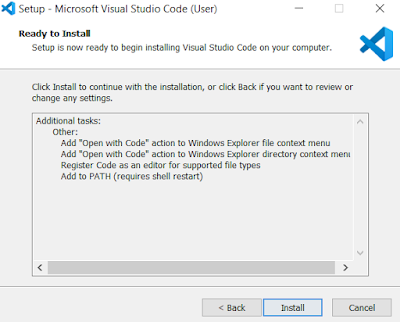
4) Now Visual Studio Code will be installed within a short time.


Step-3: Installation Of Java in Visual Studio Code.
Download Java package for Visual Studio Code from the below link.
Link : Download Java Package
Now lets see the installation process of Java Package in Visual Studio Code
1) Accept the agreement and click on Next.


3) After installation process click on Finish.

Now we had successfully completed installation setup of Java and VS Code.
Now lets run a basic "Hello" Program in Java which displays "HELLO WORLD" as output using VS Code.
1) Now in order to open VS Code...
-> create a new Folder. 'Right Click' inside that folder and click in "open with code" option.

Initially VS Code looks like this.

2) Create a new Java file by clicking on the icon marked below.

Make sure that the extension is " .java " .
3) Now write the below code in your VS Code.

4) Now click on the Run Java button at top right corner to execute our first JAVA program.


Congratulations. We had successfully compiled and executed our first Java Program.
Comments
Post a Comment